Hey there, content creators and selfie enthusiasts! Ready to take your social media game to the next level? Let's dive into the world of smooth skin videos and photos. Spoiler alert: it's easier than you might think!
{{cta-banner-images}}
Smooth sailing: How to smooth skin in video
Lights, camera, action! Ever wondered how to smooth skin in video and look like a movie star? It's all about finding the right digital sidekick. Enter the magical realm of skin smoothing video filter apps – your ticket to flawless-looking skin in every frame.
Facetune's smooth tool is like having a personal makeup artist on speed dial. Just a few swipes, and voila! Your skin looks naturally radiant without any telltale signs of editing. It's your secret weapon for those days when your skin decides to throw a tantrum right before an important video call.
But wait, there's more! Our AI video enhancer is like giving your content a sip from the fountain of youth. It intelligently detects areas that need a little TLC and works its magic, leaving you looking fresh and fabulous. And for those who want even more control, our video retouch tools let you fine-tune every detail to perfection.
Picture perfect: How to smooth skin in pictures
Now, let's talk stills. Getting smooth skin in pictures is a piece of cake with the right smooth skin photo editor. Whether you're touching up a quick selfie or prepping for your next profile pic, we've got the tools to make you shine.
Our smooth face app feature in Facetune is like a magic eraser for those little imperfections we all have. A few taps here, a little swipe there, and you're ready for your close-up! It's so easy, you'll feel like you've got a professional retoucher in your pocket.
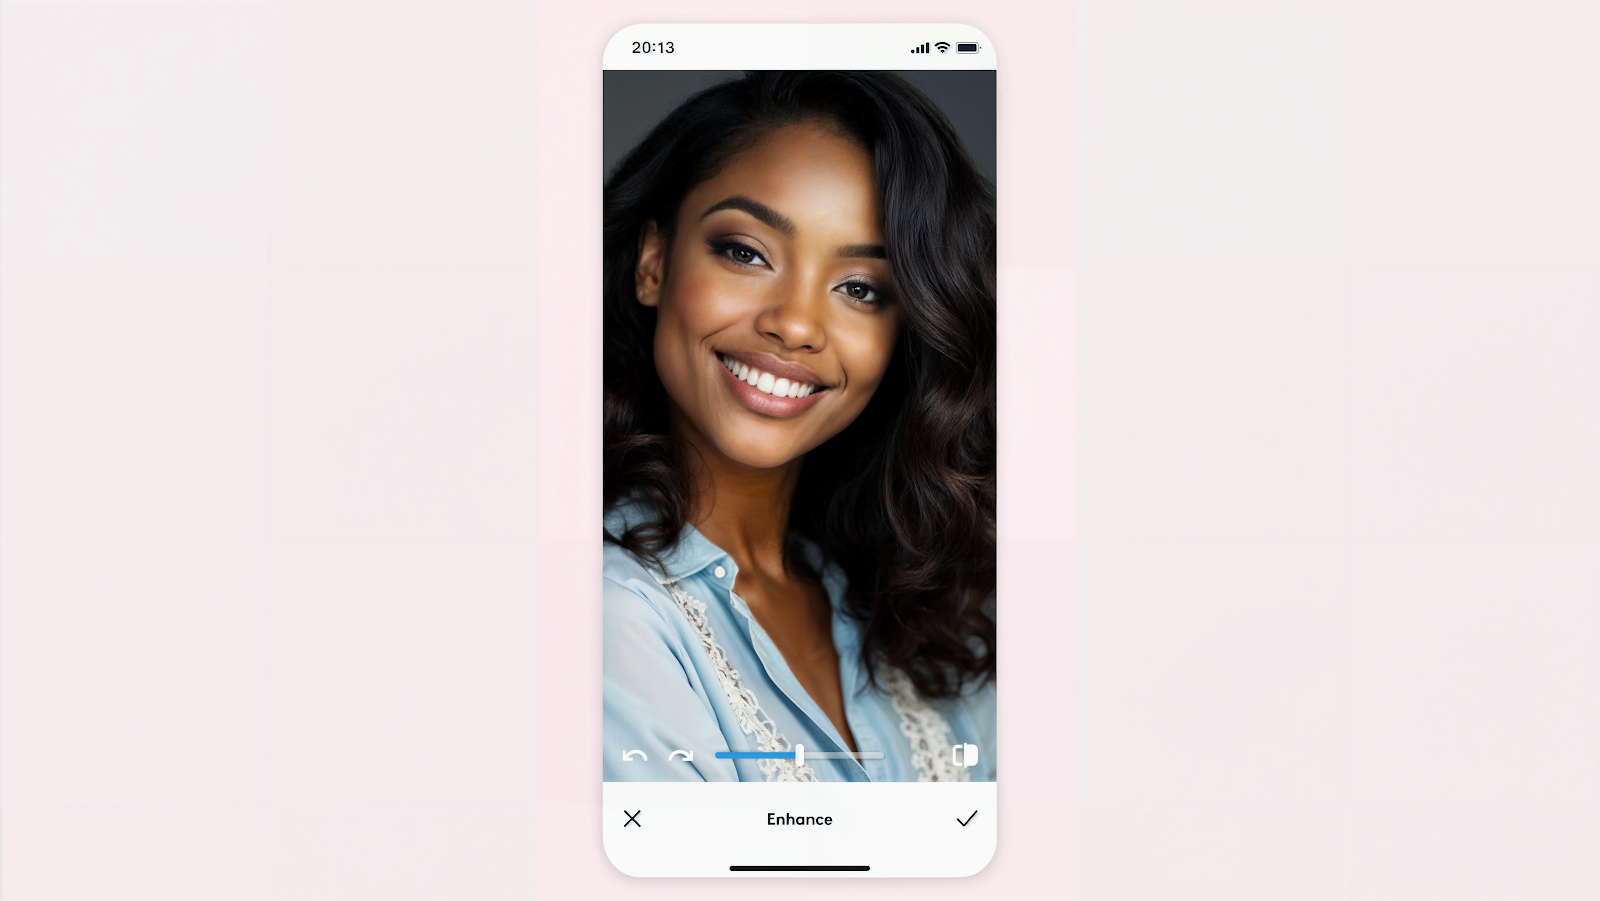
And for those days when you're in a rush? Our AI enhance tool is your new bestie. It's like having a beauty fairy godmother wave her wand over your pics, instantly giving you that "I woke up like this" glow. Want to enhance photos even further? Our advanced editing features let you adjust everything from lighting to texture, ensuring your pics are always Instagram-ready.

The art of subtle enhancement
Here's a pro tip: when using a skin retouch app, remember that subtlety is key. You want to look like you, just on your best day ever! The goal isn't to change your appearance entirely, but to enhance your natural features and boost your confidence.
Think of it like applying makeup – a little goes a long way. Start with small adjustments and build up gradually. This way, your enhanced photos and videos will still look authentically you, just with an extra dash of wow factor.
Embracing your unique beauty
While smooth skin can make you feel like a million bucks, remember that your unique features are what make you, well, you! Those freckles? Adorable. That little scar? It tells a story. Our tools are here to help you highlight your best features, not hide who you are.
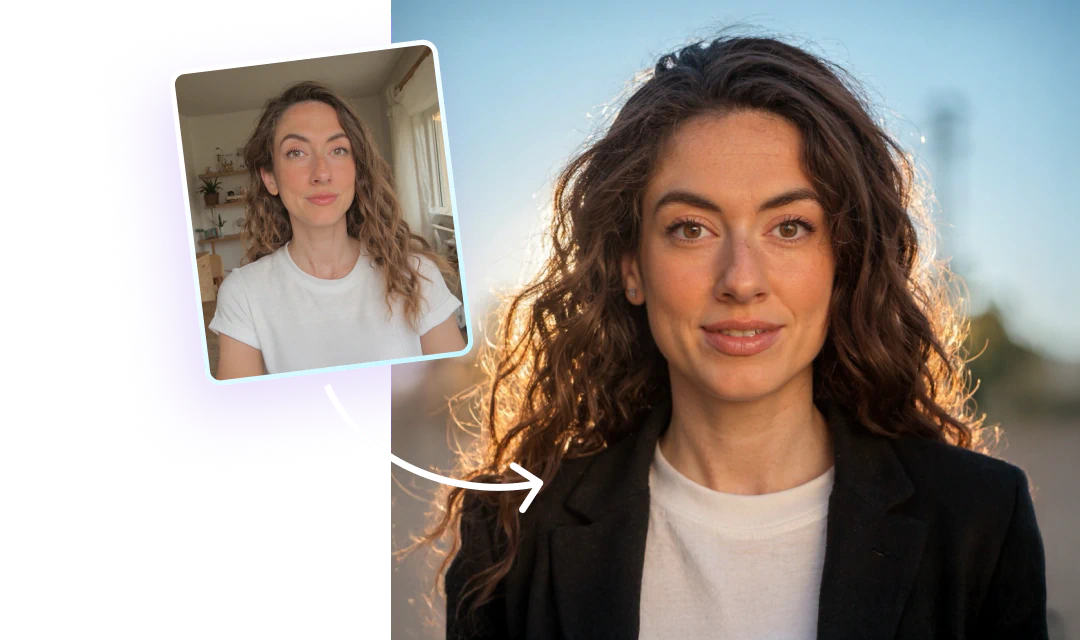
Use the AI face retouch features to accentuate what you love about yourself. Maybe you want to make your eyes pop in that graduation photo, or highlight your cheekbones in your latest TikTok dance video. The power is in your hands!

Creating content that pops
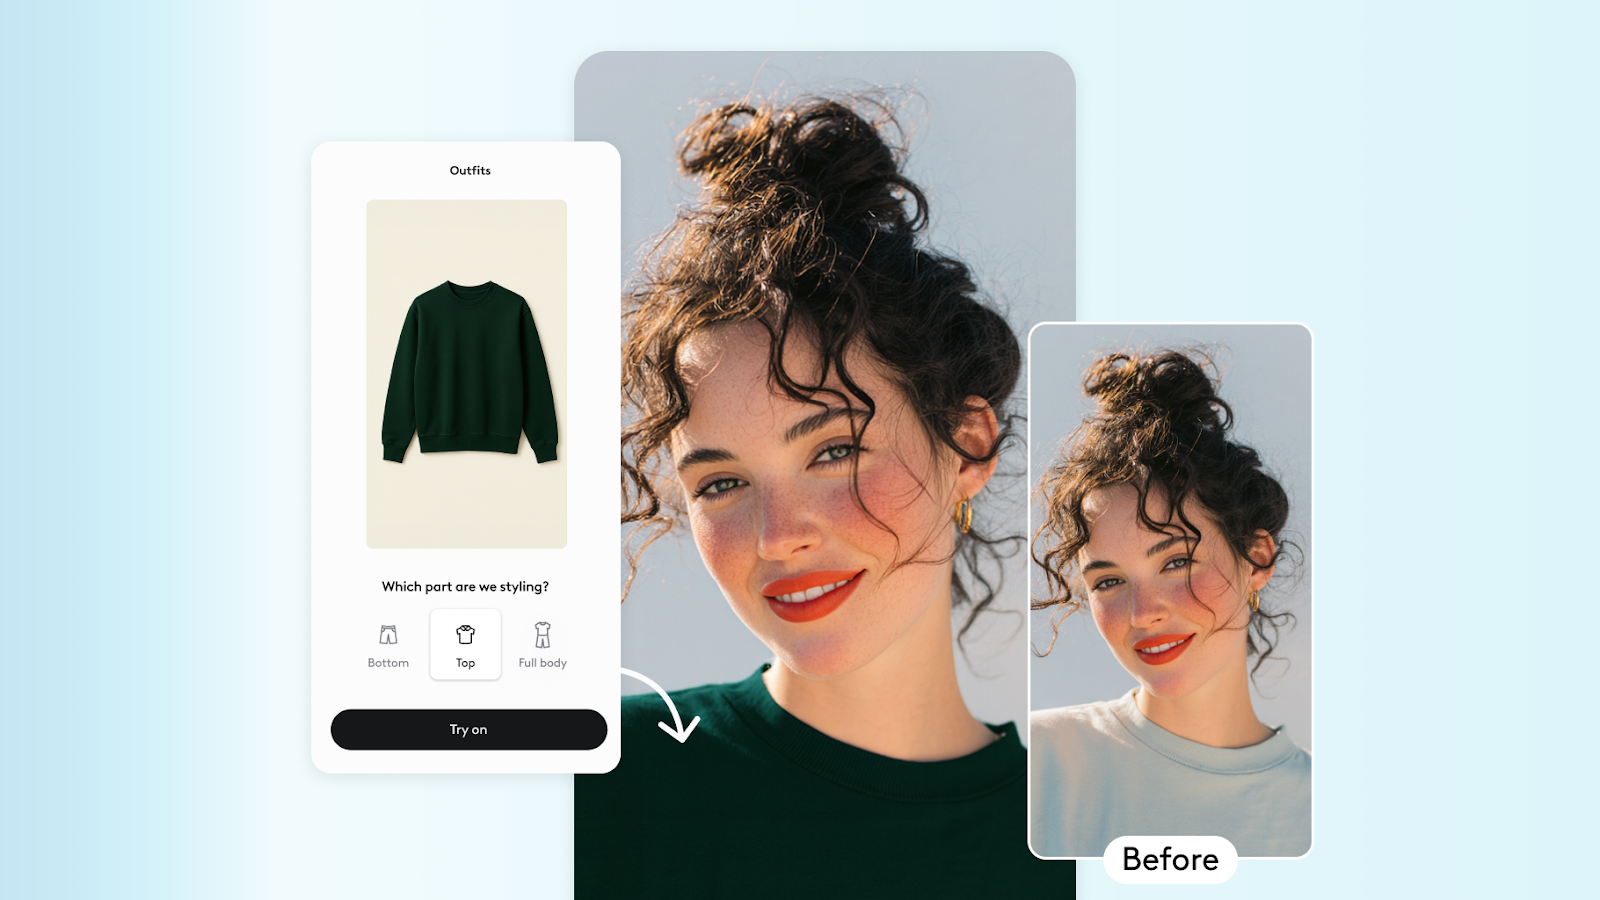
Now that you're armed with these skin smoother app tricks, it's time to let your creativity run wild! Experiment with different settings to find your signature look. Maybe you prefer a soft, dreamy effect for your Instagram stories, or a sharper, more defined look for your LinkedIn profile pic.

Remember, consistency is key in building your personal brand. Once you find a style you love, stick with it across your photos and videos. This will give your social media presence a cohesive, professional feel that's sure to attract followers and opportunities alike.
So there you have it, folks! Whether you're looking to smooth out photos for your dating profile or create stunning videos for your vlog, these tips and tricks will have you creating content that pops. Time to let your inner star shine!
{{cta-banner-images}}
Remember, Facetune's here to help you put your best face forward. Now go out there and show the world what you've got! Who knows? Your next post might just break the internet!


